Ceiling Leak Water Damage in Princeton
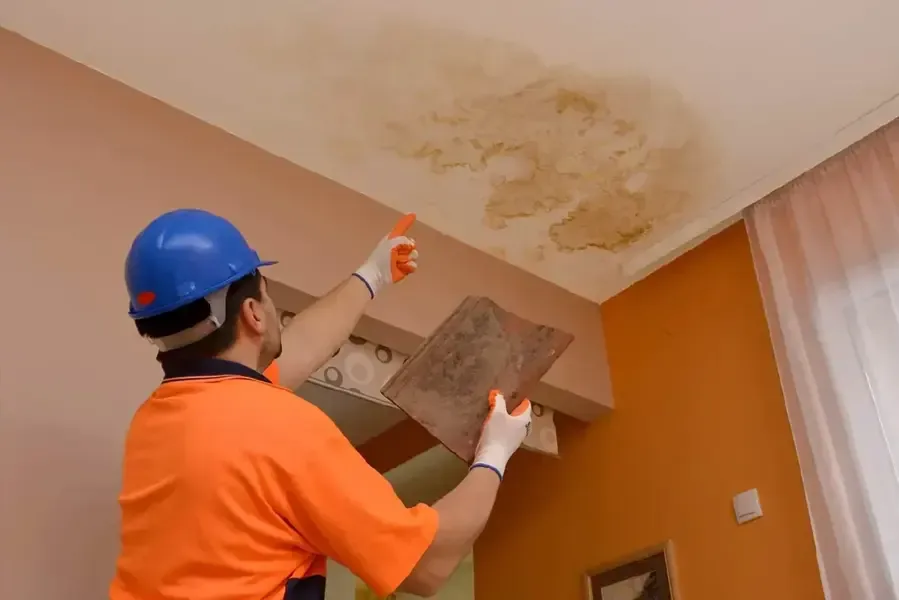
A stain overhead is a warning to assess the space above it. Wet ceiling board, insulation and framing need attention before a patch or fresh paint can become the final repair.
(888) 527-9134Discuss the overhead damage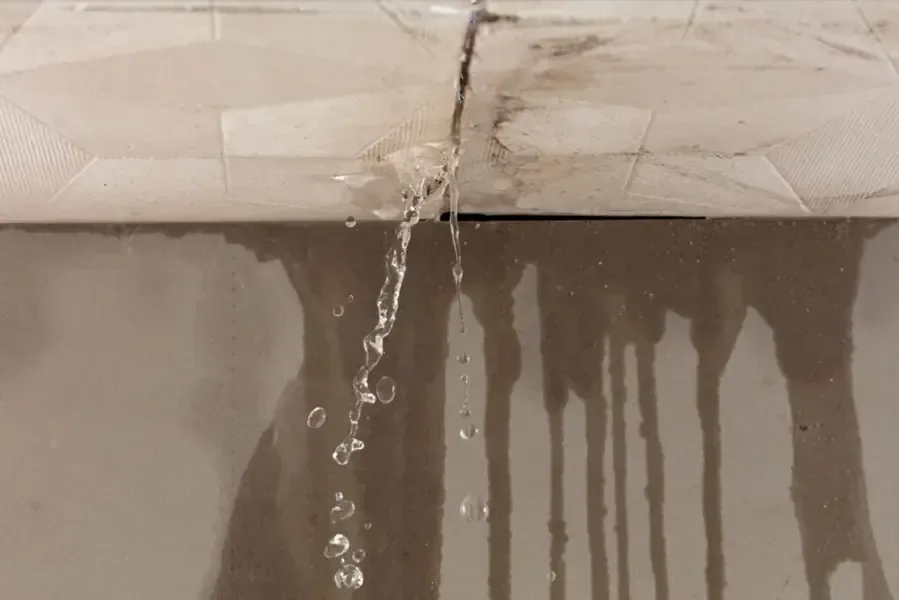
First steps for ceiling leak water damage
- 1Clear the overhead hazard
Keep occupants away from sagging or shedding ceiling material. Do not stand beneath a bulge to move belongings or attempt to release the accumulated water.
- 2Record the drip pattern
From a safe location, note when dripping begins and what activity or weather preceded it. Include whether the stain has spread toward walls or fixtures.
- 3Control a safe source
An accessible fixture valve may stop a plumbing leak when reached without entering the hazard area. Roof and equipment sources need their own repair assessment.
- 4Keep the opening available
Delay cosmetic patching until wet layers have been assessed and required access is complete. Describe inspection needs alongside the drying work when planning the repair sequence.
What does ceiling leak water damage cost in Princeton, TX?
Ceiling leak restoration in Princeton varies with overhead stability, insulation and the path into adjoining rooms. A small visible stain can require a larger opening when the cavity contains wet or damaged material beyond it.
- Limited overhead access
- Localized material checks
- Targeted drying setup
- Insulation condition assessment
- Exposed cavity drying
- Additional access work
- Connected ceiling cavities
- Wall runoff damage
- Broader reconstruction planning
Planning ranges depend on water category, affected square footage, material class and how quickly drying starts. The water damage cost calculator compares scope assumptions; the property inspection sets the work required.
How ceiling leak water damage proceeds
- 1
Assess stability and origin
The ceiling condition and likely water route are evaluated before access is selected. Electrical concerns and overhead instability help determine safe room use during the work.
- 2
Remove unsound overhead layers
Damaged ceiling material and affected insulation are assessed for controlled removal. Openings expose retained moisture while keeping the original damage pattern documented for the repair record.
- 3
Monitor the accessible cavity
Framing and adjoining surfaces receive targeted drying where appropriate. Repeated readings track progress and help identify concealed wet areas that need an adjusted access plan.
- 4
Define finish restoration
The handoff identifies dry retained materials, replaced layers and remaining finish work. Applicable inspection access is resolved before the ceiling assembly is enclosed again.
A ceiling can collect water above the visible stain, making the affected area larger than its painted outline. For a Princeton property, the first decision is whether the room remains safe to enter. Bulging board, falling material or water near a fixture calls for restricted access while the source and overhead condition are assessed.
Start with the space above the stain
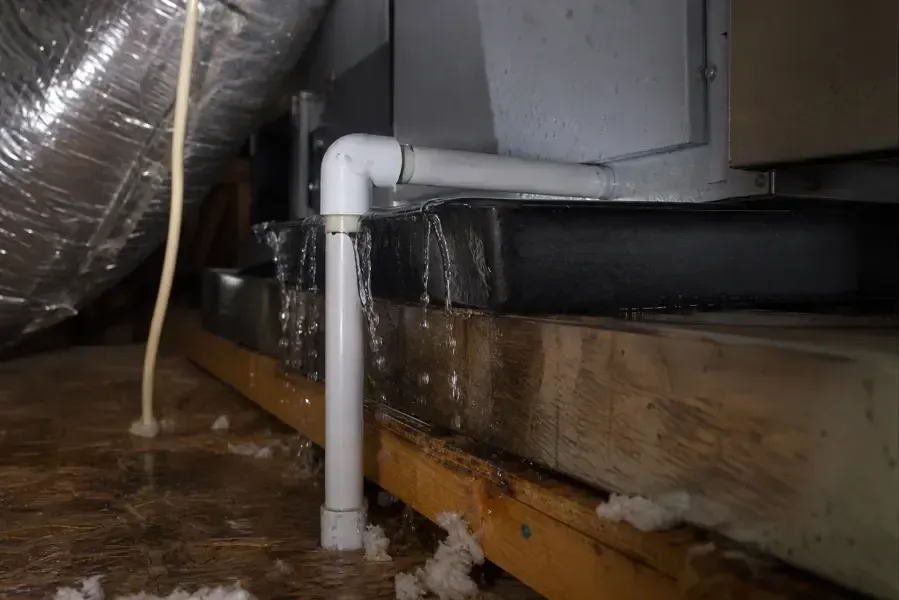
The source may be plumbing, roof entry or condensate from equipment above the room. The timing of the drip and the activities preceding it help direct the inspection. Water can travel along a framing member before reaching the ceiling face, so the visible spot should not determine the repair location by itself.
- Note whether the drip follows rain, fixture use or cooling equipment operation.
- Keep furniture and people clear of a swollen ceiling section until assessed.
- Describe light fixtures or electrical fittings within the affected overhead area.
Expose materials without losing the damage record
At a home in Creekview, an overhead plumbing leak might require access from the room below. A ceiling in Lavon Estates could need an attic inspection instead. Those are possible access routes, selected from the property's actual layout. Photographs before removal preserve the original stain pattern and explain why an opening was necessary.
Wet insulation can hold moisture against framing and limit airflow. Its condition should be assessed separately from the ceiling board. The drying process then targets the materials that remain, with readings to show whether the cavity is progressing toward a suitable dry condition. Equipment placement follows access and moisture findings.
- Identify unstable board before moving tools beneath the affected ceiling span.
- Inspect framing around the opening for moisture beyond the damaged finish.
- Check the wall below where runoff has reached trim or flooring.
Patch after access has served its purpose
Princeton requires work subject to permit inspections to remain exposed until approval. For a property in Winchester Crossing, that means any applicable inspection and drying access should be coordinated before the ceiling is closed. A neat patch cannot replace those steps or restore damaged insulation hidden above it.
If the source is rain entry, roof leak cleanup connects exterior source control with interior recovery. Once the source is corrected, remaining materials are dry enough and required access is complete, the repair scope can identify ceiling replacement, texture and paint work. Physical deterioration remains a repair issue even when readings have improved.
Princeton ceiling leak water damage response
Ceiling damage assessment covers Princeton homes including Creekview, Lavon Estates and Winchester Crossing. Source tracing and access decisions follow the room layout and the condition above each affected ceiling.
The same service nearby: ceiling leak water damage in Anna, Farmersville, Van Alstyne.
Water damage restoration in Princeton · every town coveredRelated water damage services in Princeton
Ceiling Leak Water Damage questions
1Should a swollen ceiling be punctured?
A swollen ceiling needs a stability assessment and controlled access. Standing beneath it or disturbing the surface can expose occupants to falling material and water held above the finish.
2Why is the leak source away from the stain?
Water can run along framing or the back of ceiling board before dripping through a seam. Tracing that route helps locate the entry point and avoids a repair aimed only at discoloration.
3Can paint cover the damage after dripping stops?
Paint belongs after source correction, material assessment and drying. Softened board or saturated insulation may need replacement, and measurements above the ceiling help identify moisture remaining inside the assembly.
4Is insulation always removed?
The decision depends on its condition, contamination and whether it blocks access to wet materials. The scope should explain which layers remain and how the surrounding cavity will be dried.
5What if the wall below is wet too?
Runoff can extend the loss into wallboard, trim and flooring. Those surfaces need moisture checks so the cleanup boundary reflects the entire path from the overhead source.
6Can the room stay in use?
Room use depends on ceiling stability, electrical conditions and access needs. Areas beneath damaged overhead material should remain restricted until the assessment establishes a safe plan for occupants.
Resolve the wet cavity before the patch
Discuss when the drip appeared, what lies above it and which adjoining surfaces now show moisture or damage.