Ceiling Leak Water Damage in Van Alstyne
A brown ring or spreading seam can mark water traveling above the room. The first decision concerns safe occupancy beneath the ceiling, followed by source tracing and checks of the concealed materials.
(888) 527-9134Discuss an overhead water stain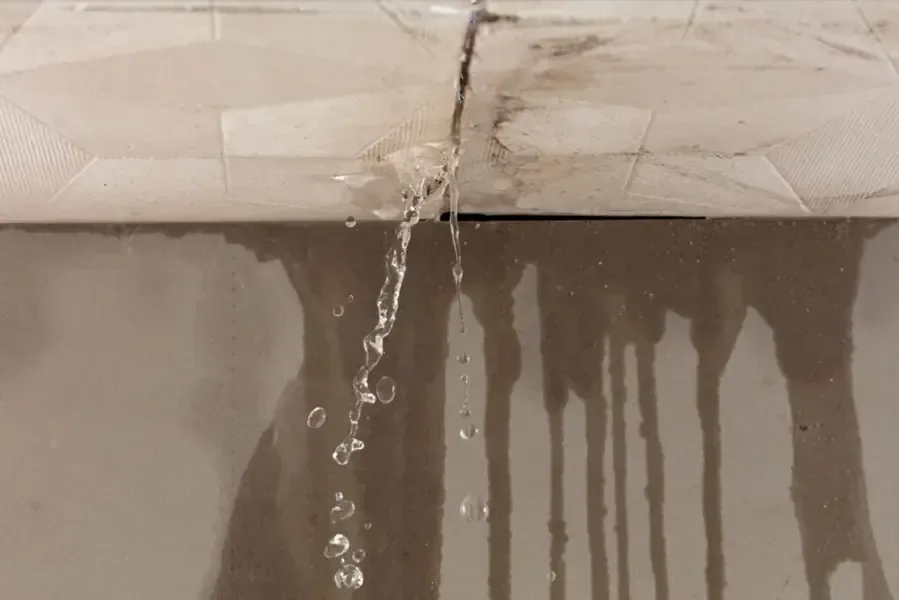
First steps for ceiling leak water damage
- 1Clear the hazardous footprint
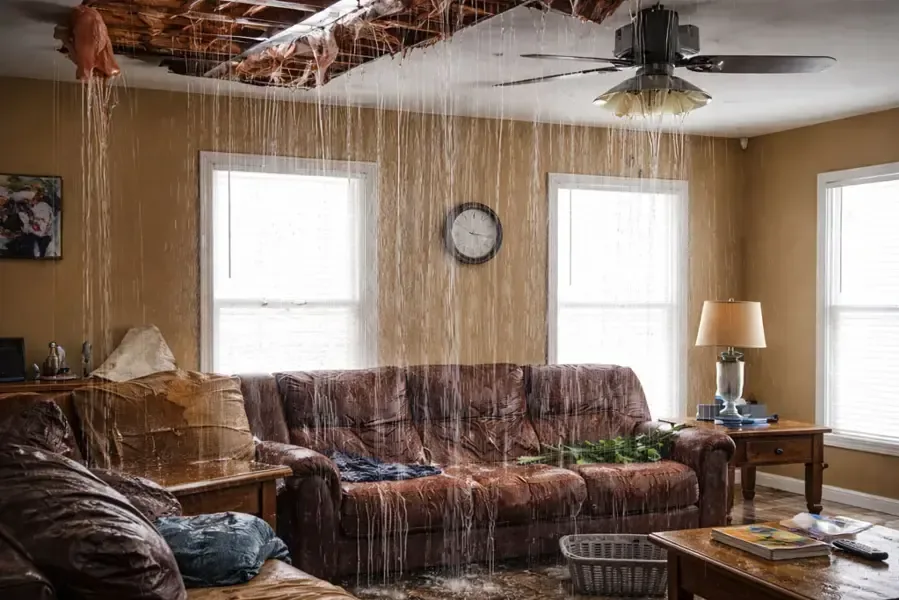
Keep occupants outside the area beneath soft or bulging panels. A safe route around the room matters more than collecting every drip before an assessment occurs.
- 2Identify nearby electrical fixtures
Report wet lights, fans or outlets without touching them. Appropriate electrical isolation should be arranged before anyone works around an affected fixture or opens the cavity.
- 3Record the timing of changes
Note whether the stain appeared during rainfall, appliance operation or a plumbing event. These observations help the professional trace the source above the visible mark.
- 4Protect accessible belongings
Move dry items only where the ceiling and walking route are safe. Photograph contents already affected so the cleanup record includes damage below the overhead release.
What does ceiling leak water damage cost in Van Alstyne, TX?
Ceiling cleanup in Van Alstyne depends on panel stability, insulation exposure and the rooms reached by dripping water. The estimate should identify safe access, removal and drying separately from source correction and the replacement of finished surfaces.
- Limited panel damage
- Accessible cavity inspection
- Localized moisture control
- Insulation removal needs
- Exposed framing drying
- Additional ceiling access
- Connected overhead spread
- Affected lower finishes
- Broader equipment arrangement
Planning ranges depend on water category, affected square footage, material class and how quickly drying starts. The water damage cost calculator compares scope assumptions; the property inspection sets the work required.
How ceiling leak water damage proceeds
- 1
Assess the panel and source
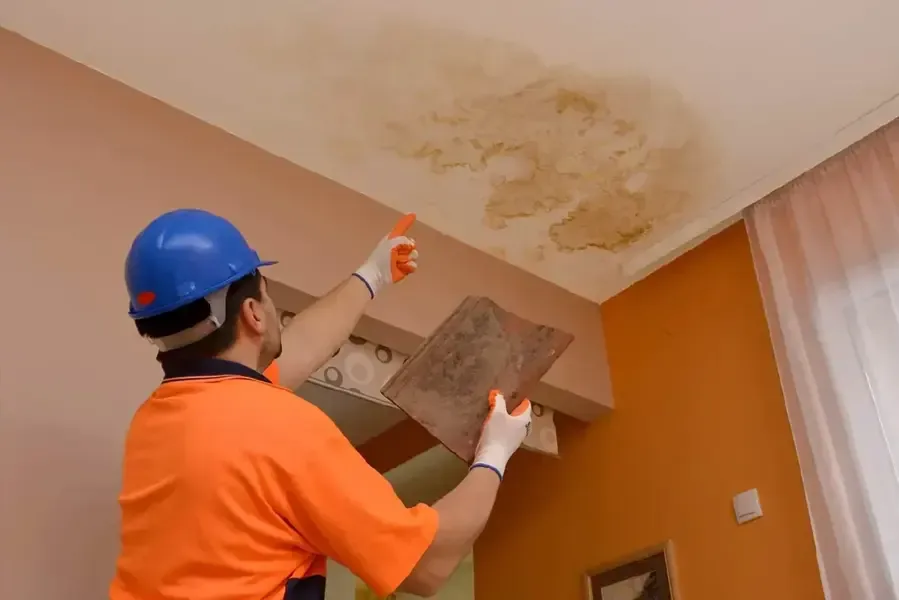
The inspection checks ceiling stability and follows moisture above the room. Source repair needs are identified alongside wet materials that require removal or controlled drying.
- 2
Open a purposeful access area
Damaged panels or obstructing wet insulation are addressed as needed. The goal is access to affected framing and concealed pockets while preserving sound adjacent finishes.
- 3
Dry the exposed assembly
Equipment supports evaporation from retained materials while humidity is controlled. The room below is included when drips have reached flooring, furnishings or lower wall surfaces.
- 4
Confirm closure conditions
Recorded readings and material checks establish whether the cavity is ready for repair. Replacement board and paint follow the drying assessment and completion of source correction.
A ceiling leak in Van Alstyne can reveal itself at a joint well away from the source. Water may travel across framing before finding a low point or opening. The visible ring deserves attention, but the first inspection must also consider panel stability, electrical exposure and the condition of the space overhead.
Keep the room usable only where safe
Property locations can be described using FM 121, SH 5 or US 75. Inside the building, a clear description of the affected ceiling matters: sagging, active dripping, softened edges and nearby light fixtures each change the access plan. Furniture should not be moved through a hazardous area simply to place a bucket.
- Occupants should remain away from a bulging panel while its stability is assessed.
- Wet light fittings need appropriate electrical attention before the ceiling cavity is disturbed.
- Drips reaching the floor can create a second wet assembly that also needs inspection.
Trace upward without guessing the source
Plumbing, roof entry and equipment above a room can each leave similar marks below. The inspection should follow the actual moisture path rather than select a cause from the stain shape. Accessible cavities, surrounding dry references and the timing of visible changes help direct the next checks.
A confirmed plumbing release can connect with burst pipe cleanup. When rain entered the building envelope, roof leak drying addresses insulation and upper framing. The source repair should be assigned clearly while the interior scope identifies water already absorbed by the ceiling assembly.
- Wet insulation can hold moisture against framing after the exposed panel stops dripping.
- A limited access opening should allow useful inspection rather than leave hidden pockets unchecked.
- Paint failure and panel damage require a condition decision separate from the drying equipment plan.
Close the cavity after the right checks
Drying an overhead assembly requires access to the materials that remain. Removing unstable or unsalvageable panels can also expose adjacent wet areas that were invisible from below. The crew should record these findings and explain any change in the removal or equipment scope before finish repairs proceed.
The endpoint should account for framing, retained panels and the room surfaces reached by falling water. A stain can remain after drying, while a clean looking surface can still conceal damp insulation. Measured conditions and material integrity provide a sounder basis for rebuilding and painting.
Van Alstyne ceiling leak water damage response
Ceiling assessments in Van Alstyne focus on safe room access, the space above the stain and any floor damage below. Property location and entry arrangements complete the initial description.
The same service nearby: ceiling leak water damage in Anna, Howe, Sherman.
Water damage restoration in Van Alstyne · every town coveredRelated water damage services in Van Alstyne
Ceiling Leak Water Damage questions
1Should a bulging ceiling be punctured?
Occupants should stay out from underneath it. Trapped water, weakened panels and electrical fixtures create hazards that need professional assessment before drainage or an access opening is attempted.
2Does a dry stain mean the leak ended?
The source may have paused while insulation remains wet. Inspection should establish the current condition above the stain and whether additional water can enter when the source operates again.
3Can the ceiling be painted after wiping?
Painting should follow source correction, drying and a panel condition assessment. Covering a mark too soon can conceal remaining moisture and leave weakened material inside the finished assembly.
4Why check flooring below a small drip?
Repeated drips can soak a rug, floor joint or furniture base. The volume visible at one moment may not show the total exposure that occurred before the leak was discovered.
5Will all overhead insulation be removed?
Removal depends on the material, exposure and ability to dry safely. The inspection should identify wet sections and explain why particular areas need removal or can remain in place.
6What helps connect the repair with the loss?
Photos of the stain, source findings and moisture records show how the water traveled. Separate repair and drying notes make the work easier to understand when finishes are replaced.
Trace the water above the visible mark
An overhead moisture assessment connects the source with wet panels, concealed insulation and the surfaces reached by falling water inside the room.