Ceiling Leak Water Damage in Sherman
A drip may emerge far from the opening where water entered. Ceiling leak restoration in Sherman follows the overhead path while keeping occupants clear of softened drywall, wet fixtures and falling debris.
(888) 527-9134Arrange an overhead damage assessment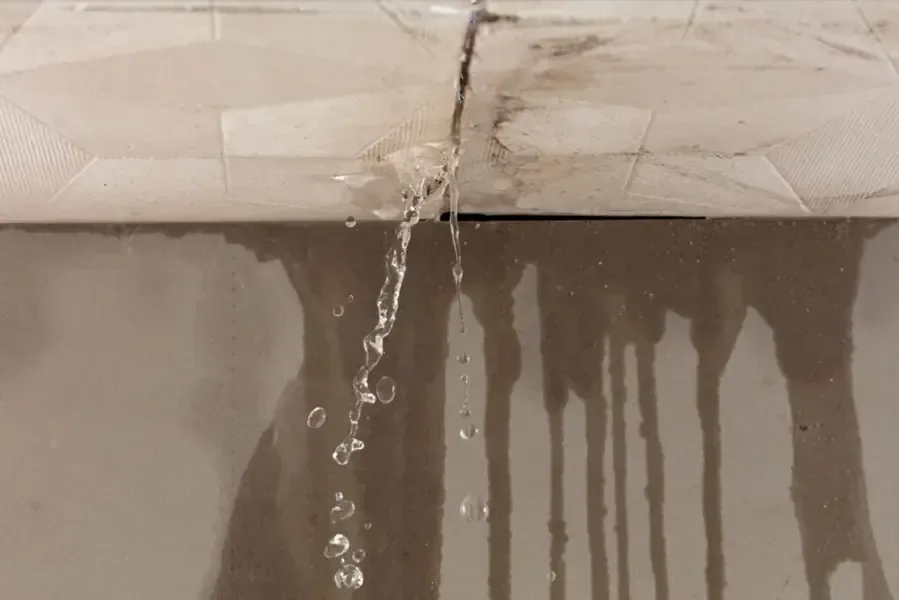
First steps for ceiling leak water damage
- 1Clear the area beneath sagging
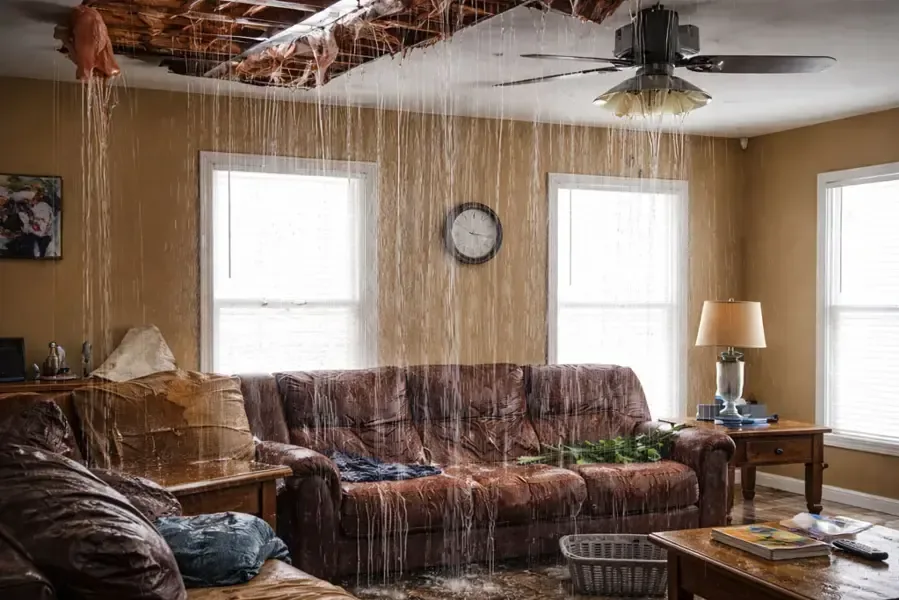
Occupants should avoid the room section under swollen or separating material. Move only items reachable without standing below the damaged ceiling or crossing unsafe wet flooring.
- 2Identify the space above it
Describe whether the ceiling sits below another room or an attic. That information helps organize inspection of the concealed route between the water entry and the visible stain.
- 3Report nearby electrical concerns
Mention dripping light fittings, wet switches or affected appliances before entry is arranged. Qualified electrical assessment may be necessary before drying equipment can operate in the room.
- 4Photograph the visible progression
Keep dated images of new stains, wall streaks and affected belongings from safe positions. Those observations help connect the leak sequence with the eventual repair and drying scope.
What does ceiling leak water damage cost in Sherman, TX?
Ceiling leak restoration costs in Sherman depend on overhead access, insulation saturation and damage below the leak. These planning ranges cover different mitigation scopes; source repair and decorative ceiling replacement should appear as clearly identified responsibilities.
- Limited finish damage
- Accessible overhead inspection
- Localized drying setup
- Selective ceiling opening
- Insulation condition assessment
- Exposed framing checks
- Connected overhead spaces
- Multiple wet surfaces
- Complex access protection
Planning ranges depend on water category, affected square footage, material class and how quickly drying starts. The water damage cost calculator compares scope assumptions; the property inspection sets the work required.
How ceiling leak water damage proceeds
- 1
Assess overhead condition
The inspection identifies sagging finishes, retained water and access restrictions before mapping the stain and related damage across the room and adjoining wall surfaces.
- 2
Locate and coordinate source work
Plumbing, roofing or equipment repair needs are separated from mitigation, with the affected overhead space examined as access and safety conditions allow.
- 3
Remove unsafe saturated materials
Unsound finishes and inaccessible wet insulation are evaluated for controlled removal, exposing retained framing and other recoverable surfaces to a suitable drying arrangement.
- 4
Document readiness for closure
Material readings and remaining repair boundaries are recorded before replacement ceilings conceal the inspected assembly, with separate source work identified in the handoff notes.
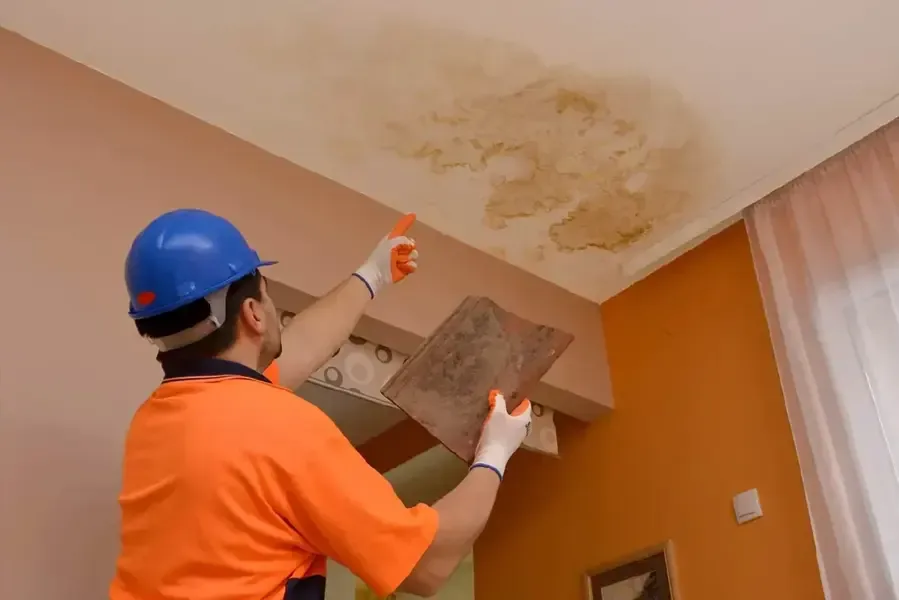
The edge of a ceiling stain is a useful starting observation, but overhead water can travel along framing before dripping into a room. An assessment in Sherman should connect the visible damage with the source above, then examine the surrounding ceiling and anything wet below it. Sagging areas require restricted access.
Keep the room below safe
Downtown Sherman includes pre-1950 homes. Where a ceiling has layered finishes or prior repairs, inspection needs to identify what is actually wet before selecting an opening. Heavy, softened materials and water around light fittings deserve immediate attention from the appropriate professionals rather than a cosmetic patch over the stain.
- Keep beds, seating and walking routes outside the area beneath a swollen or visibly separating ceiling.
- Record the stain shape from a safe position without pressing, puncturing or loading the weakened overhead surface.
- Describe wet fixtures and any nearby electrical equipment before arranging access to the affected room.
Follow the ceiling into adjoining spaces
Westwood Village and O'Hanlon Ranch are established residential neighborhoods. At an affected property, a ceiling leak may involve a room above, an attic area or a plumbing connection. The actual source determines which repair trade is needed, while moisture checks establish the restoration boundary below and beside it.
Wet insulation can keep the backs of ceiling finishes damp even when the room air feels comfortable. Selective removal may be needed for unstable drywall or inaccessible saturated material. The inspection should explain the reason for opening each section and check nearby wall tops where overhead water has traveled downward.
- Door headers and upper wall corners can reveal migration beyond the first visible ceiling discoloration.
- Flooring and furniture below the drip need a separate condition assessment after overhead safety is established.
- Accessible framing measurements help distinguish drying progress from a simple change in the color of the stain.
Make the ceiling ready for repair
If rain is entering above the room, roof leak restoration coordinates that source problem with interior damage. A plumbing release may instead connect to burst pipe cleanup. In either case, repainting follows source correction and assessment of the retained materials.
A useful handoff identifies the ceiling areas opened, insulation removed and framing left in place. Final moisture observations help the repair contractor plan the replacement assembly. Decorative work should also account for the surrounding finish so repairs address the actual damaged section without concealing a continuing leak.
Sherman ceiling leak water damage response
Ceiling damage assessments include Pecan Grove and Austin Landing, with attention to the space above the room, affected finishes and safe access beneath the leak.
The same service nearby: ceiling leak water damage in Anna, Howe, Van Alstyne.
Water damage restoration in Sherman · every town coveredRelated water damage services in Sherman
Ceiling Leak Water Damage questions
1Can a homeowner puncture a bulging ceiling?
A weakened ceiling can release water and debris unexpectedly. The area below should remain clear while a qualified assessment determines safe access and controlled removal requirements.
2Why is the stain away from the source?
Water can move along framing or other concealed surfaces before finding an opening. Source inspection therefore extends above and beyond the visible stain rather than following color alone.
3Does every wet ceiling need new insulation?
Insulation condition, saturation and accessibility determine the decision. Material that traps water or cannot be effectively dried may need removal even when adjoining framing can remain.
4Will a fan below the ceiling solve it?
Room air movement may not reach enclosed wet layers. Inspection and moisture measurements establish whether the ceiling requires access openings, material removal or a different drying arrangement.
5When can the ceiling be repainted?
The source must be corrected and retained materials assessed for suitable dryness. Painting before that point can hide ongoing moisture and leave the cause of the damage unresolved.
6Should the floor below also be checked?
Yes. Drips and falling water can soak carpet, flooring and furniture. Those materials require their own assessment even when the ceiling is the most noticeable damaged surface.
Look above the stain before patching
The ceiling shape, space above it and condition of the room below help establish the next assessment steps.